מק"ט יצרן # 1-206934-7
CONN RCPT MALE 37POS GOLD SOLDER
TE Connectivity AMP Connectors
Connectors Headers / Rectangular
Anteater Formula Racing is a student-run engineering project at UC Irvine. The objective is to design, manufacture, and test a Formula-style car in less than a year to compete yearly in the Formula Society of Automotive Engineers competition in Michigan (FSAE). Once in Michigan, the car is judged by industry professionals against a variety of criteria, including static/dynamic events, presentation, engineering design, and many more. Anteater Formula Racing consists of approximately fifty students from varying engineering backgrounds working on different vehicle subsystems, ranging from chassis, suspension, aerodynamics, electronics, and many more. Learn more here!
In our previous blog, we talked about how we’re manufacturing a wiring harness, the essential electrical system in any automobile, for our FSAE car. This blog serves as a continuation and will cover our usage of connectors from DigiKey to make our lives easier and our car better!
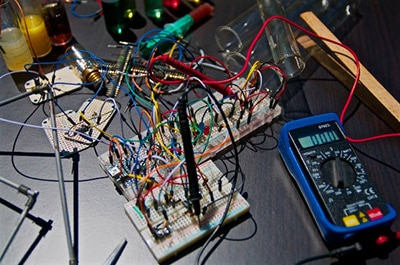
After we finished manufacturing our wiring harness, we plugged everything in and, after some tweaking, got our display to turn on!

As you might notice, there were a copious amount of errors showing up, and data wasn’t flowing through as we had expected. This just meant we had to troubleshoot a lot more and make sure each line was providing data as it should be.
After a week of swapping parts, redoing connections, and adjusting some power components, we were able to get the green light and continue to the next phase of the project: implementing the connectors.
Connectors, as you might imagine, make our lives easier. Not because they connect wires, but rather because they provide the capability to easily disconnect and reconnect them. Right now, the wiring harness is all in one big piece:

If we can section it out with some connectors that are detachable, it can provide us the luxury of isolating issues and quick installation. For example, we can make cuts at the top, side, and bottom parts and keep the central area separate—splitting the harness into 4 different “mini” harnesses. This also means that, whenever there’s a large issue, we won’t have to take the entire wiring harness off the car. As you might imagine, that process is terrible.

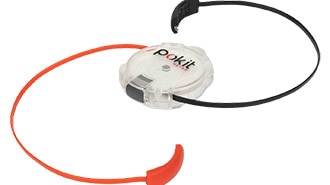
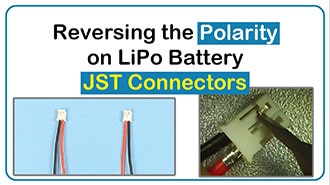
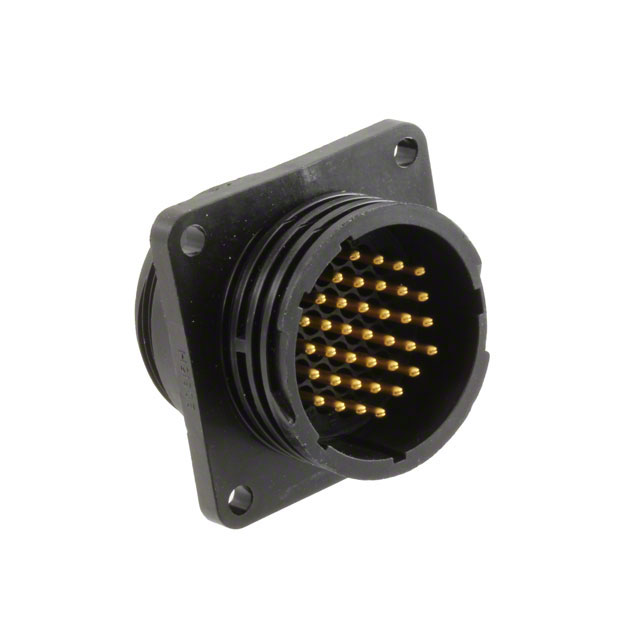
In order to split the harness, we used Amphenol Connectors. Within the wiring harness, there are dozens of wires splitting off into sections. In order to make the wiring harness function properly after we cut it, we need to make sure each of the wires can connect to their corresponding other half. Connectors do this by establishing a “position” for each wire that you put in, and by matching it to the position of its corresponding part on the other side, you ensure proper connection. Take this 4-pin connector as an example:

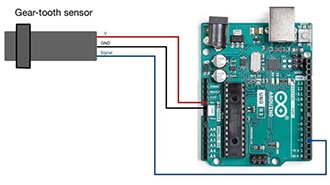
This particular sensor requires 3 wires to operate: a ground, a signal, and a power wire. We cut the wire in half and connected one of the ends to a male connector. We will now need a compatible male and female connector to combine the two:

You can see in the figure how the connections are mapped out and how we can use the connector to make this sensor hot swappable.
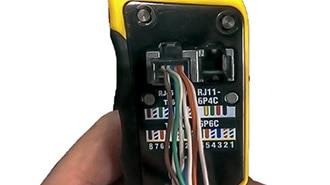
For the wiring harness, we did this at a much larger scale, with these 30+ pin connectors from DigiKey.

For each section, we had a male, female, and a strain relief connector component.
Implementing these connectors was easier said than done. The biggest issue was in mapping the wires from the male to the female connectors. Keeping track of 30+ wires at a time, while making sure not to mix any up, was a real challenge. Additionally, we also had to make sure that there was appropriate strain relief at every point so that the wires don’t get excessively strained or worn.
Something else that we had yet to account for was the varying wire gauge sizes we used throughout the harness. Not every wire gauge was compatible with these connectors, so we now need to look towards either using different connectors for those specific wires or downsizing to make sure that each section is easy to work on. As we continue, we’re constantly re-evaluating our options and working on the fly.
In the meantime, we were able to section most of the wiring harness and make sensors that break often hot-swappable. We’ll have our finished product soon and move to track testing next. Stay tuned!